Allocations
The Allocations tab allows you to add or remove allocated members from a checklist. Allocations is the process of assigning checklist resources to tasks. Allocations are useful when planning resources. 100% task allocation equals 1 resource, and the system will generate planned man days value according to total task allocations. If applicable, increasing resources can reduce completion time, while re-allocating them to other tasks will have the opposite effect.
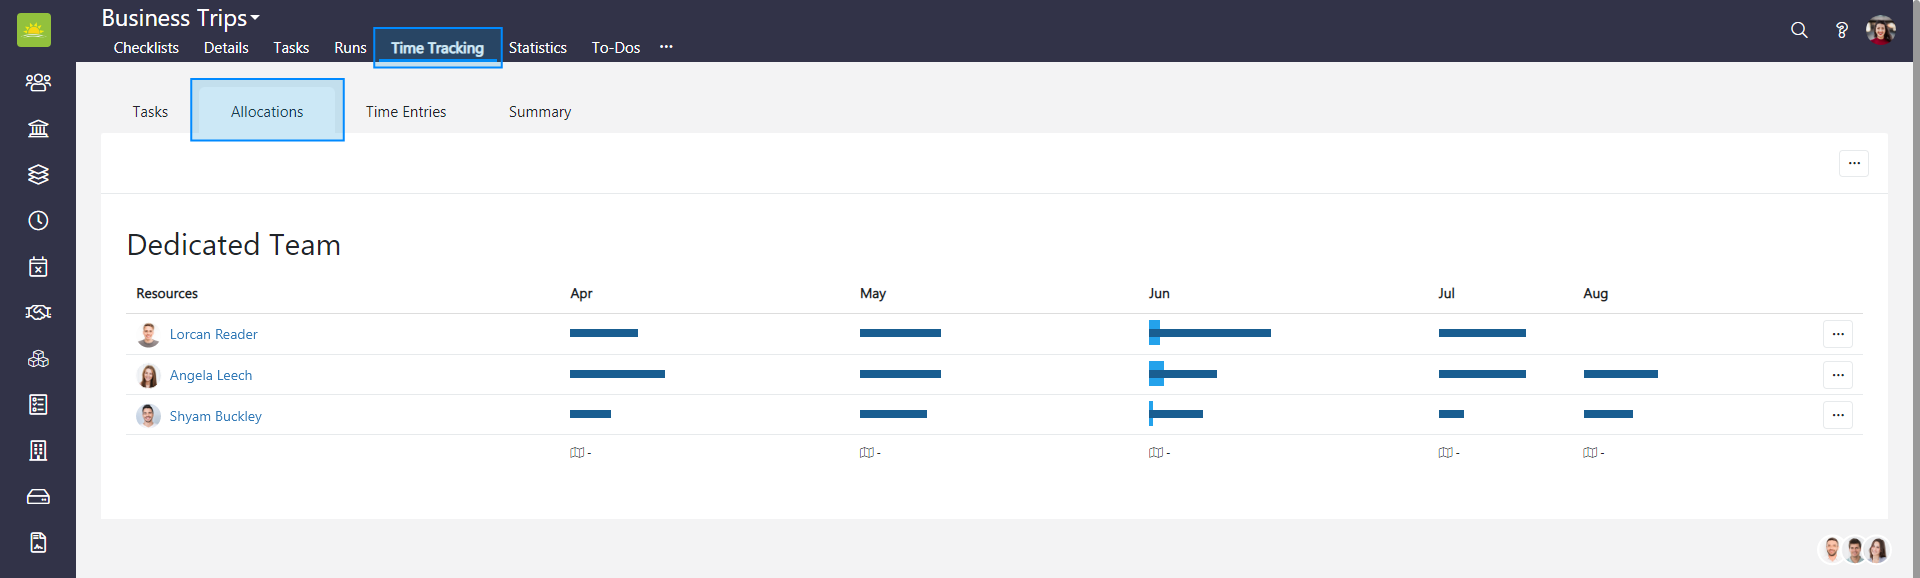
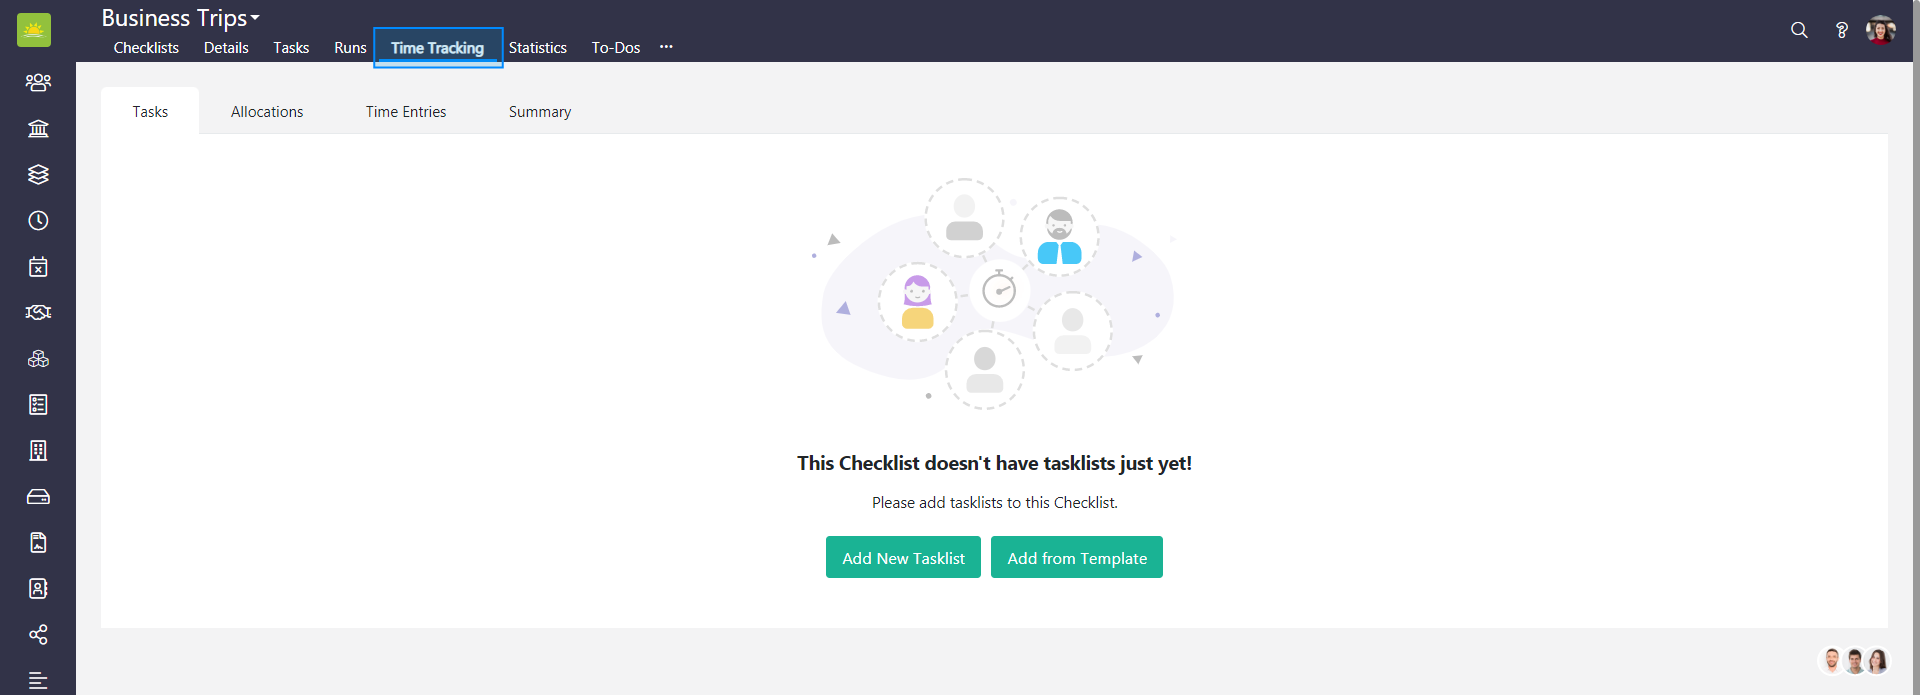
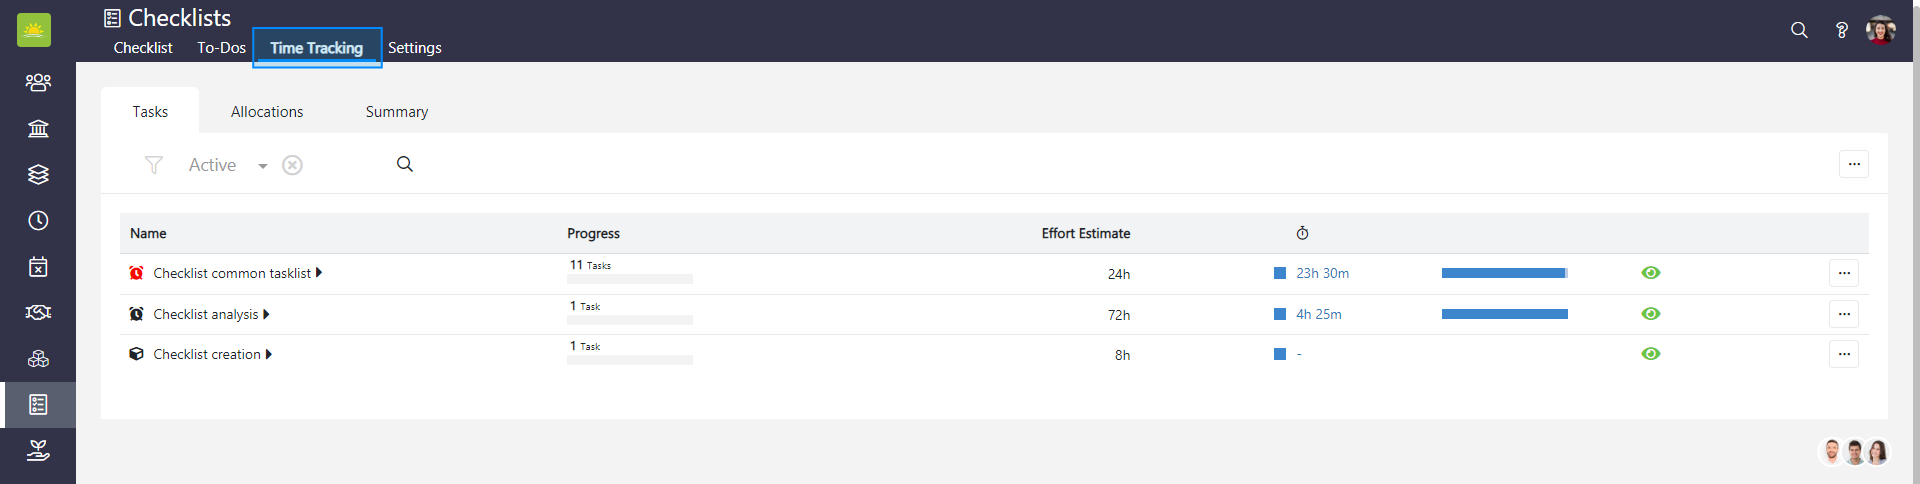
To view the Allocations for the entire Checklists module, go to the Checklists module and click the Time Tracking tab.

If you want to view the Allocations for a specific checklist, go inside the checklist and click the Time Tracking tab from there.

Then click the Allocations tab.
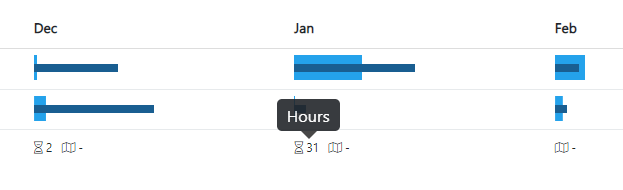
The value next to the time icon at the bottom of each month displays the total hours of work on a checklist by a dedicated team and the value for planned man days. You can see at glance how these two values compare to each other.
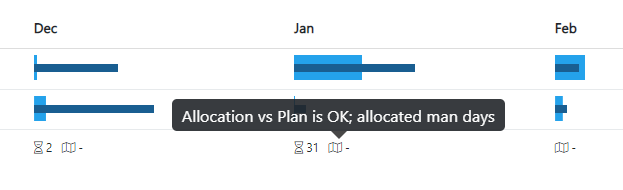
Hover over the plan icon to view whether Allocation vs Plan and allocated man days are okay.
Dedicated Team and Additional Personnel
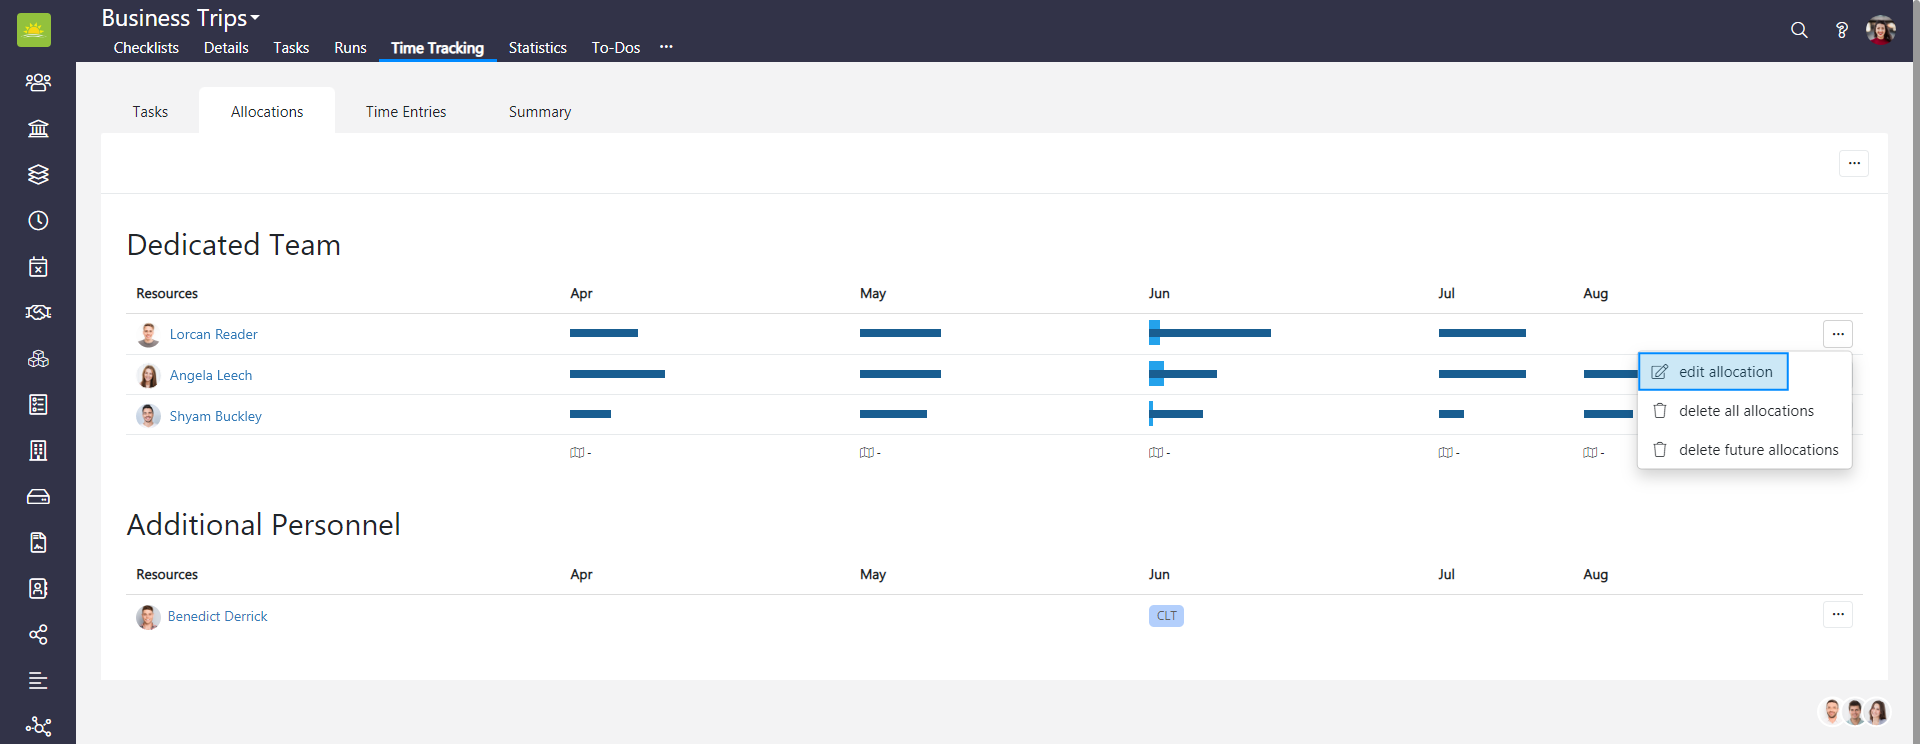
The Allocations page is divided into a Dedicated Team and Additional Personnel section.
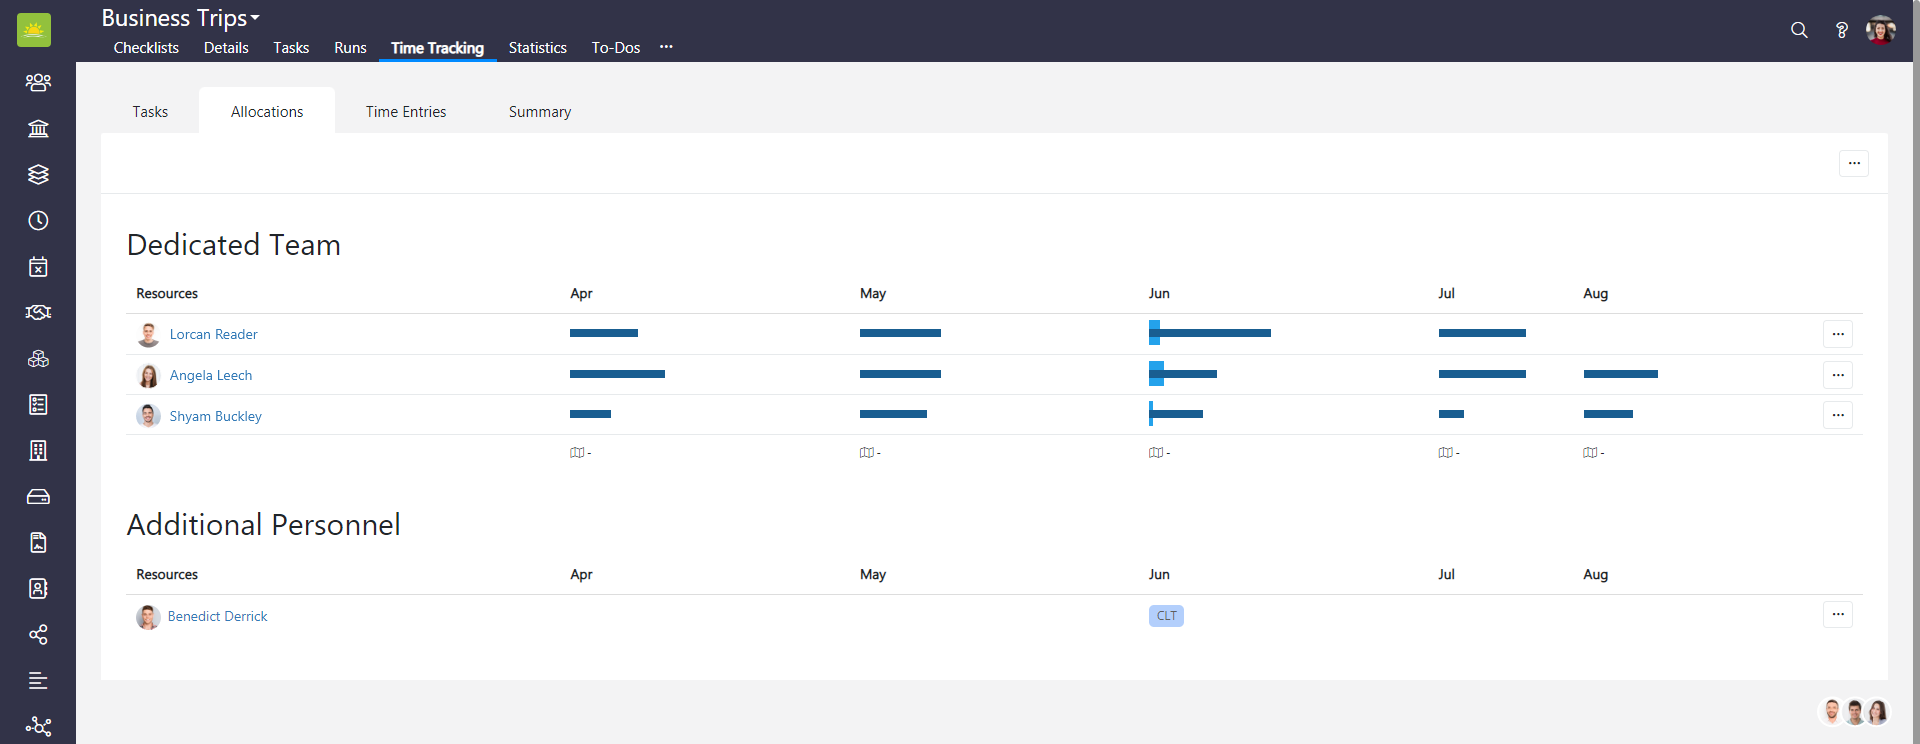
The Dedicated Team are personnel who have been assigned at least 10% checklist allocations for the current month.
Additional Personnel are personnel who can log their time (CLT) under a checklist without having a checklist allocation at a specific percentage value assigned to them.
The light blue bars represent checklist allocations as a percentage, and the dark blue bars indicate the percentage of hours worked against the allocations. Ideally, they should be the same.
How to add an allocation
To add an allocation to the entire Checklists module, go to the Checklists module and click the Time Tracking tab.

If you want to add an allocation for a specific checklist, go into the checklist and click the Time Tracking tab from there.

Then click on the Allocations tab. Click ... in the top right corner and select add allocation.
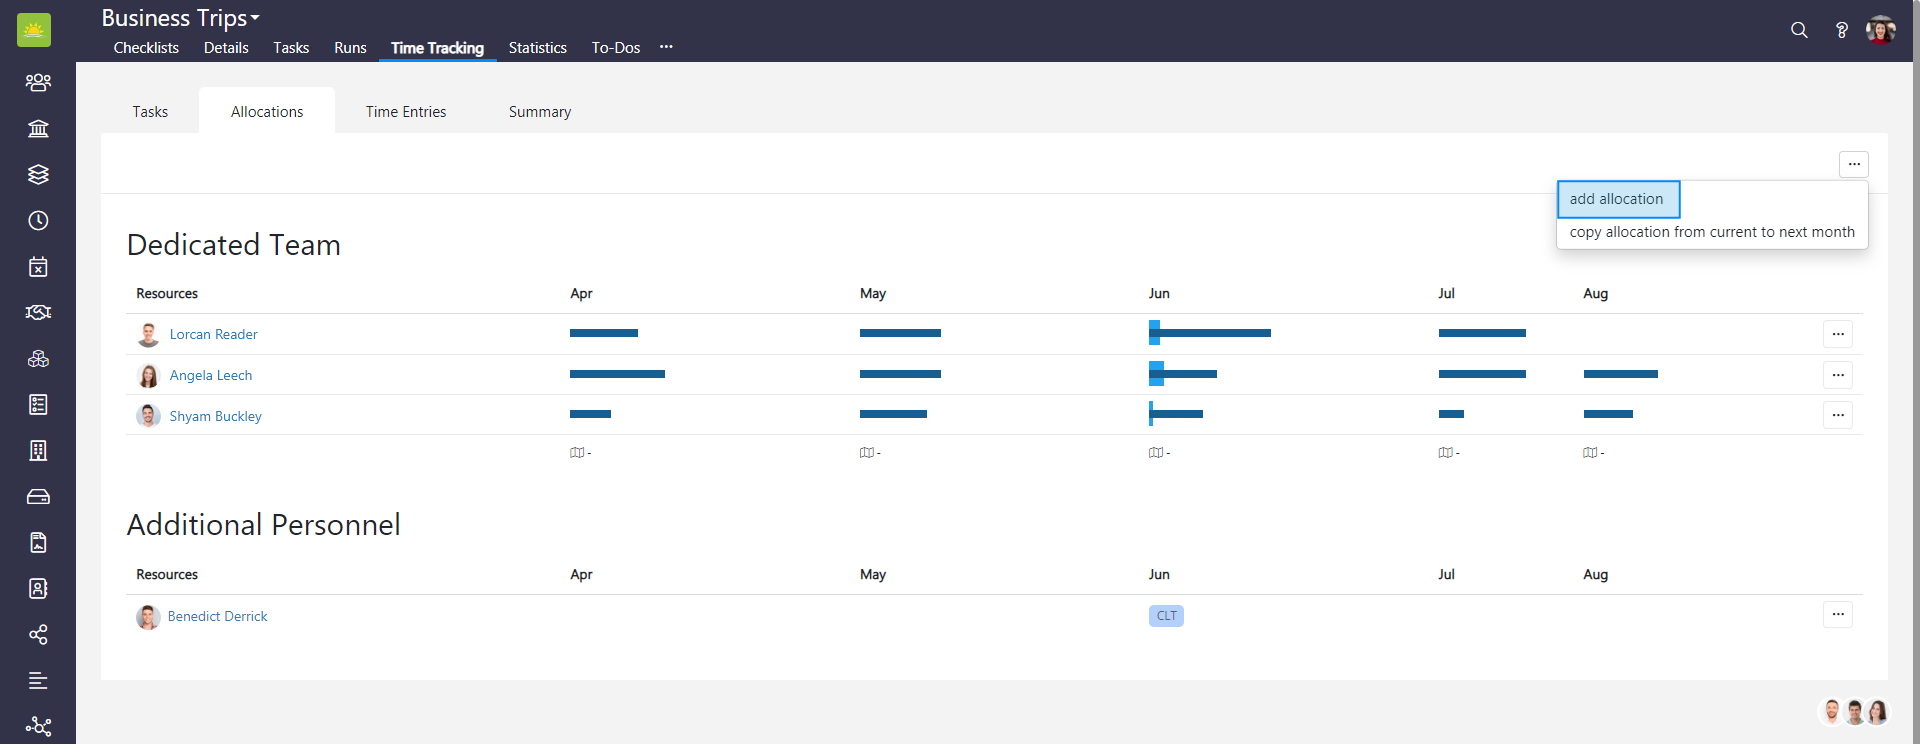
A modal Add New Allocation window will pop up.
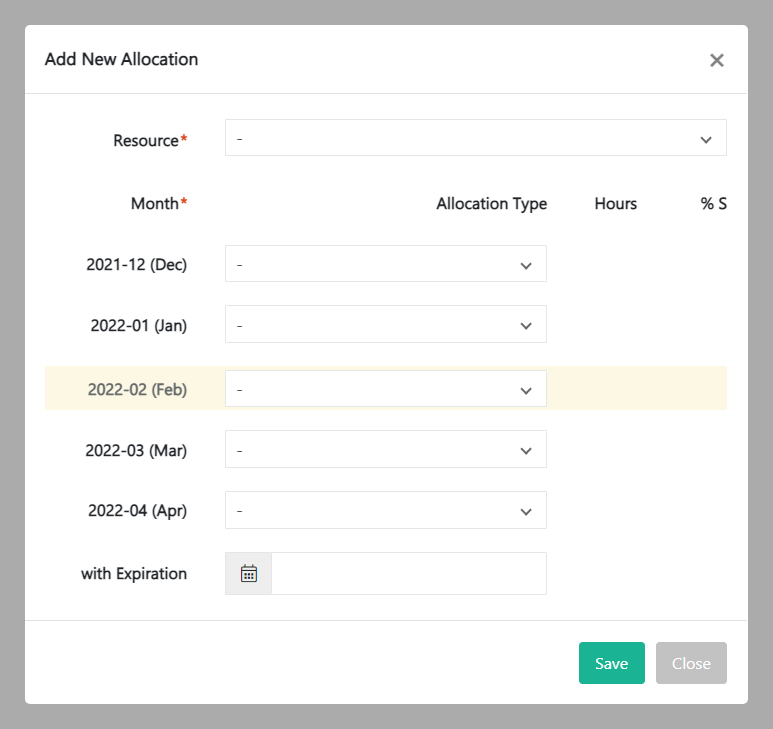
Fill out the following fields:
- Resource (required) – Select the team member from the dropdown list. Resources can be defined in the Personnel module.
- Month (required) – You can manage individual team member allocation per month here. You can plan your resources 2 months ahead.
- With Expiration – Set an expiration date for a team member allocation.
Note! If you exceed an employee’s allocation across all entities, the percentage number changes color from green to red.
Review the information and click Save.
How to copy an allocation from the current month to next month
To copy an allocation from the current month to the next month, go to the Checklists module and click the Time Tracking tab.

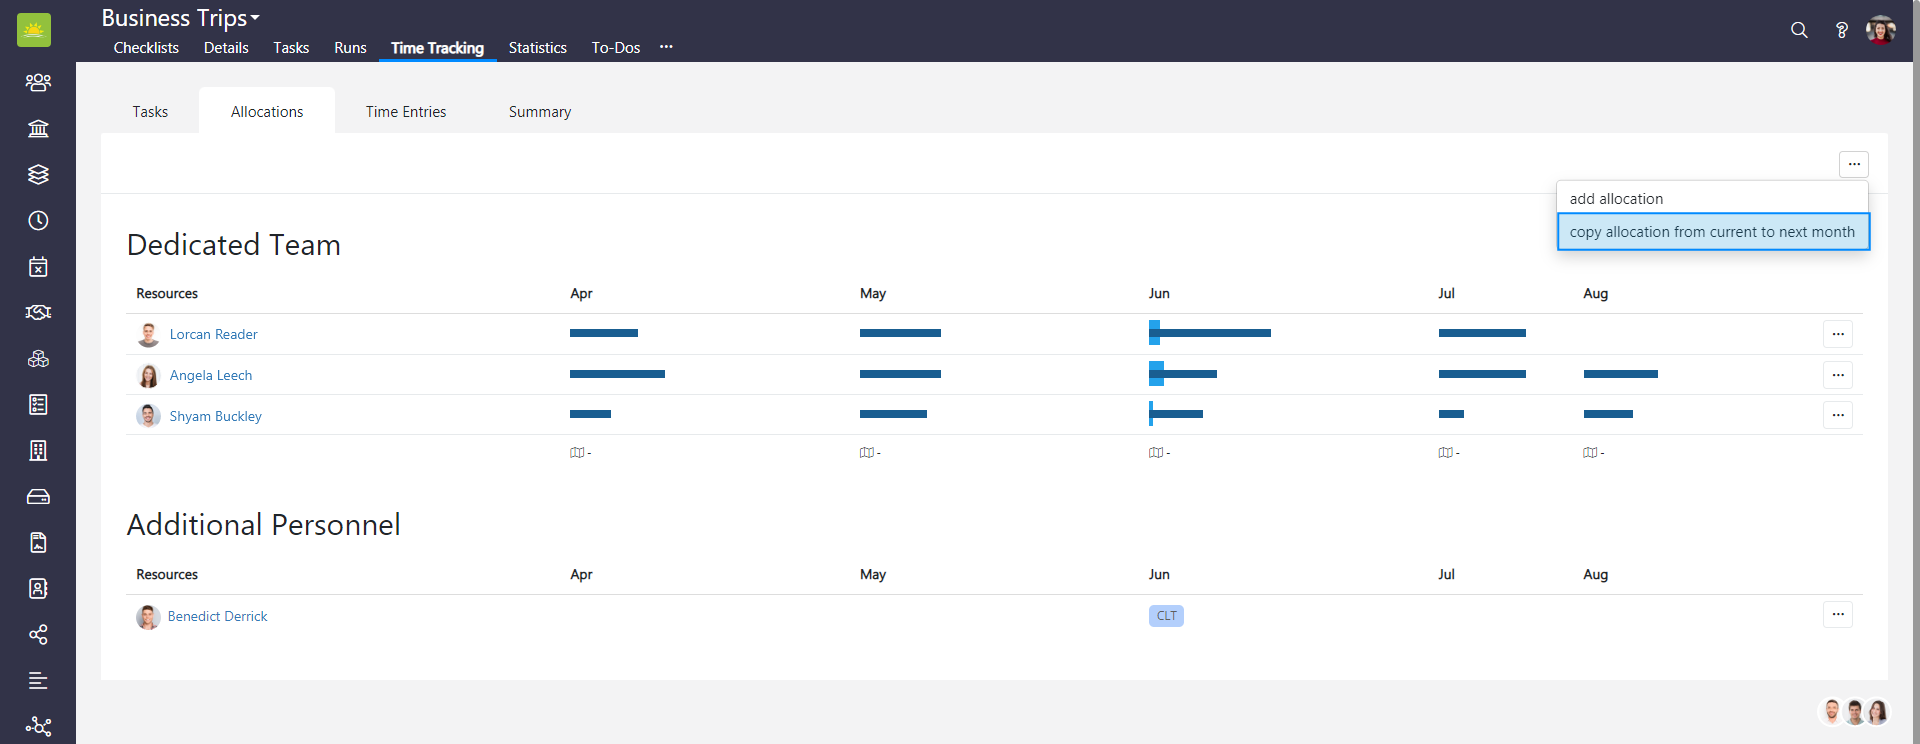
If you want to copy an allocation from the current month to the next month for a specific checklist, go into the checklist and click the Time Tracking tab from there, then click the Allocations tab.
Click ... in the top right corner and then click copy allocation from current to next month.
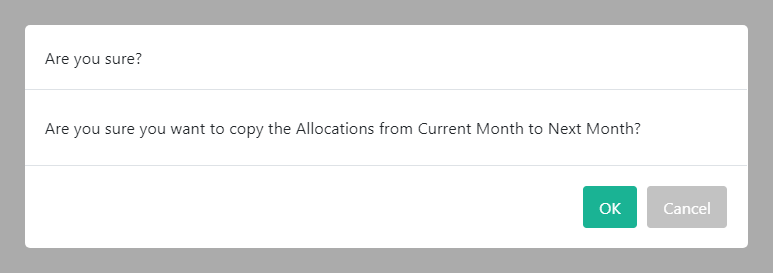
Click OK to confirm your choice.
How to edit an allocation
To edit an allocation, go to the Checklists module and click the Time Tracking tab.
If you want to edit an allocation for a specific checklist, go into the checklist and click the Time Tracking tab from there, then click the Allocations tab.

Find the allocation you wish to edit. Click ... at the end of the allocation row and select edit allocation.
A modal Edit Allocation window will pop up.
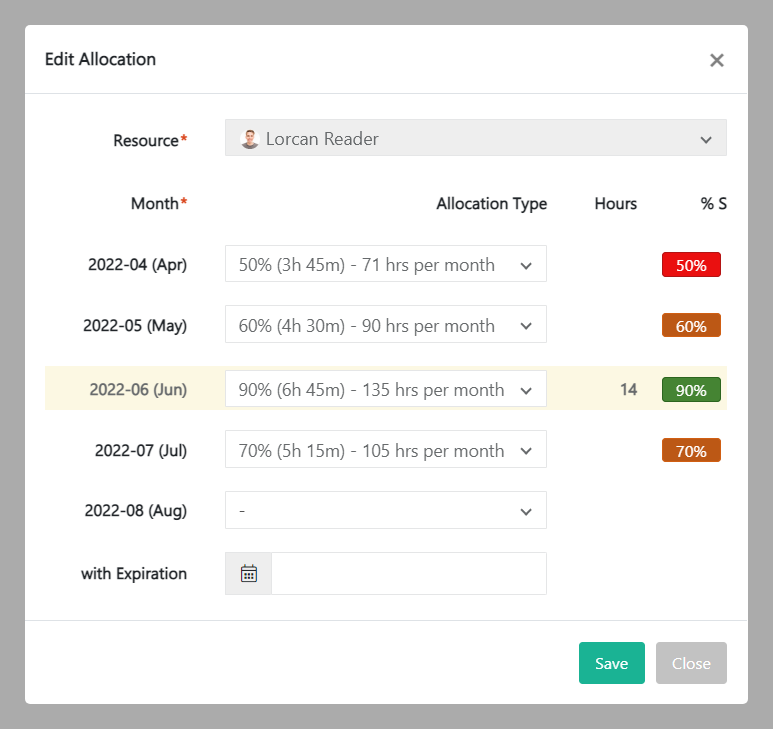
Update the relevant information and click Save.
How to delete all allocations
To delete an allocation, go to the Checklists module and click the Time Tracking tab.

If you want to delete an allocation for a specific checklist, go into the checklist and click the Time Tracking tab from there, then click the Allocations tab.

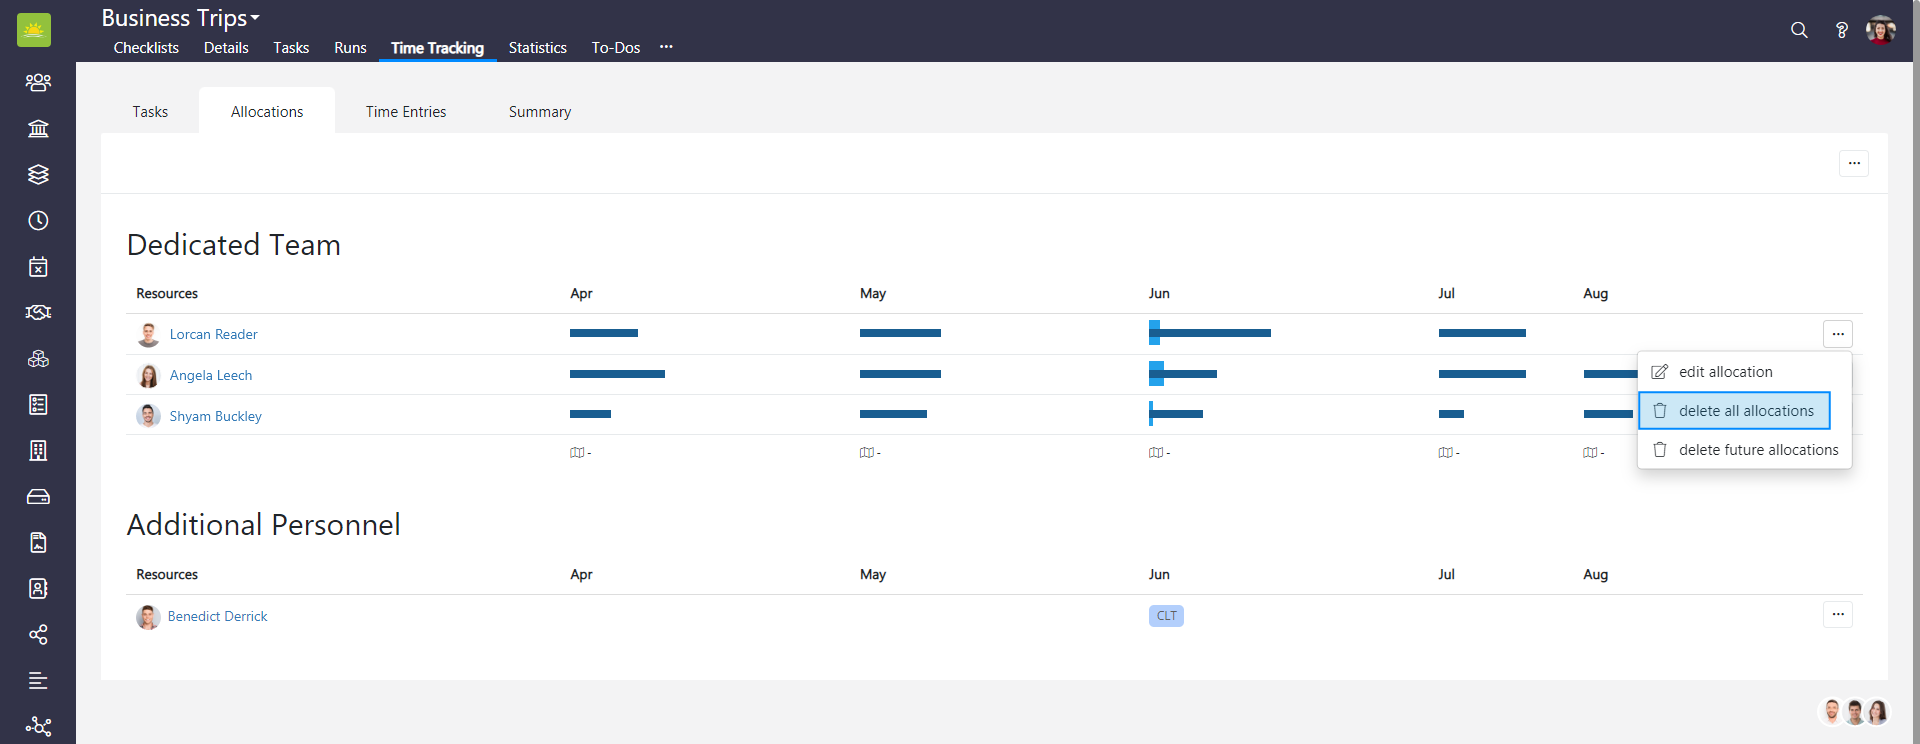
Click ... at the end of the allocation row and select delete all allocations.
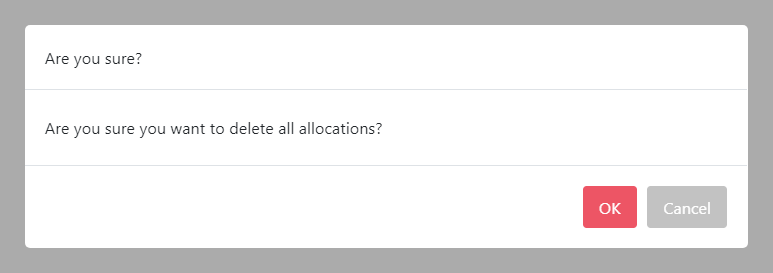
To minimize the risk of accidental deletion, you must confirm your intention to delete all allocations. Click OK and all the allocations will be deleted.
How to delete future allocations
To delete future allocations, go to the Checklists module and click the Time Tracking tab.

If you want to delete future allocations for a specific checklist, go into the checklist and click the Time Tracking tab from there, then click the Allocations tab.

Click ... at the end of the allocation row and select delete future allocations.

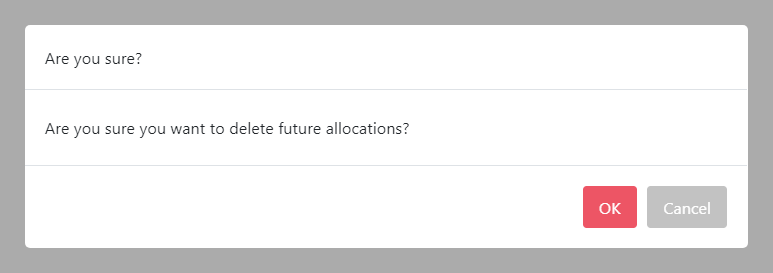
To minimize the risk of accidental deletion, you must confirm your intention to delete all future allocations. Click OK and all future allocations will be deleted.
Didn’t find what you were looking for?
Contact us and we’ll build the right solution for you. Vault Synapse can be fully customized based on your business needs.