- Knowledge Base
- Personnel
- Email Templates
- How to generate an email from a template
- How to add a run
- How to edit a run
- How to mark a run as complete
- How to archive a run
- How to delete a run
- How to change the assignee
- How to add a result in a checklist run
- How to add bulk results in a checklist run
- How to share run tasks with external participants
- How to generate an Excel or PDF report from a checklist run
- How to filter the run tasks view
- What is an office asset
- How to create a new asset
- How to manage an asset
- How to move an asset
- How to dispose of an asset
- How to transfer (in) an asset
- How to transfer (out) an asset
- How to log a sighting of an asset
- How to log an inspection of an asset
- How to log maintenance on an asset
- How to export a record of an asset
- How to print asset labels
- Introduction
- Admissions
- Assets
- Bank Accounts
- Boards
- Business Trips
- Candidates
- Checklists
- Clients
- Companies
- Consents
- Contacts
- Contracts
- Custom Forms
- Departments
- Documents
- Evaluations
- Employee Performance
- GL Accounts
- Incoming Center
- Integrations/External Systems
- Invoices
- Job Management
- Key Dates
- Months
- Offices
- Personnel
- Polls
- Project Management
- Project Status
- Purchase Orders
- Schedule
- Shared Spaces
- Teams
- Time Off
- Time Tracking
- Transactions
- Vendors
- Mobile Application
- What is a personnel asset
- How to create a new asset
- How to manage an asset
- How to move an asset
- How to log inspection on an asset
- How to log maintenance on an asset
- How to dispose of an asset
- How to transfer (out) an asset
- How to transfer (in) an asset
- How to log a sighting on an asset
- How to print asset labels
- How to export a record of an asset
- What is a project asset
- How to create a new asset
- How to manage an asset
- How to move an asset
- How to log inspection on an asset
- How to log maintenance on an asset
- How to dispose of an asset
- How to transfer (out) an asset
- How to transfer (in) an asset
- How to log a sighting of an asset
- How to print asset labels
- How to export a record of an asset
- Project transactions
- How to record an estimate
- How to create a budget
- How to submit transaction items for approval
- How to approve or deny budgeting items from the transactions grid
- How to create a purchase order from approved estimates
- How to link approved estimates to approved budgets
- How to cancel a transaction
- How to deactivate a transaction
- How to edit a transaction
- How to re-submit a denied transaction
How to generate an email from a template
What is a templated email
An email template is a predefined email layout that can be reused. Instead of having to rewrite an entire email from scratch, you can simply add images and links to an existing template before sending it to users. Email templates can be configurated In the Organization Configuration by an administrator and can be used for the onboarding process, project welcome, project change, etc. Simply create an email in a few clicks by selecting a template from the dropdown menu.
How to generate an email from a template
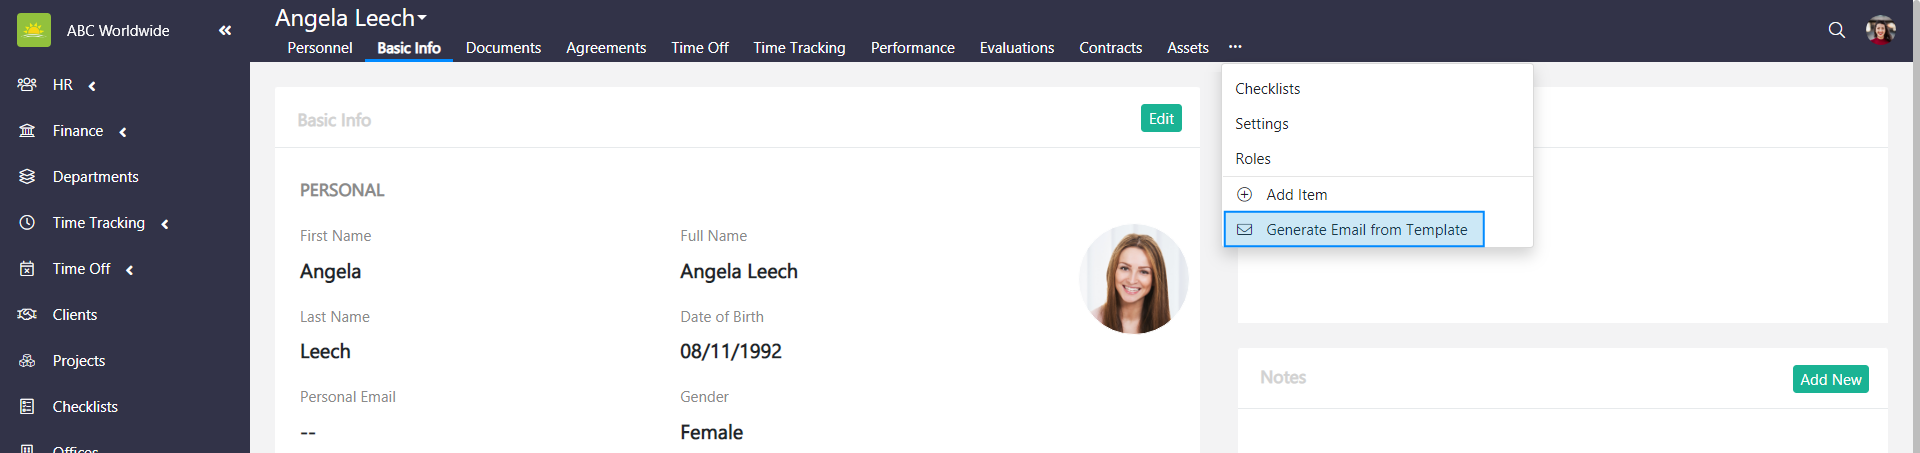
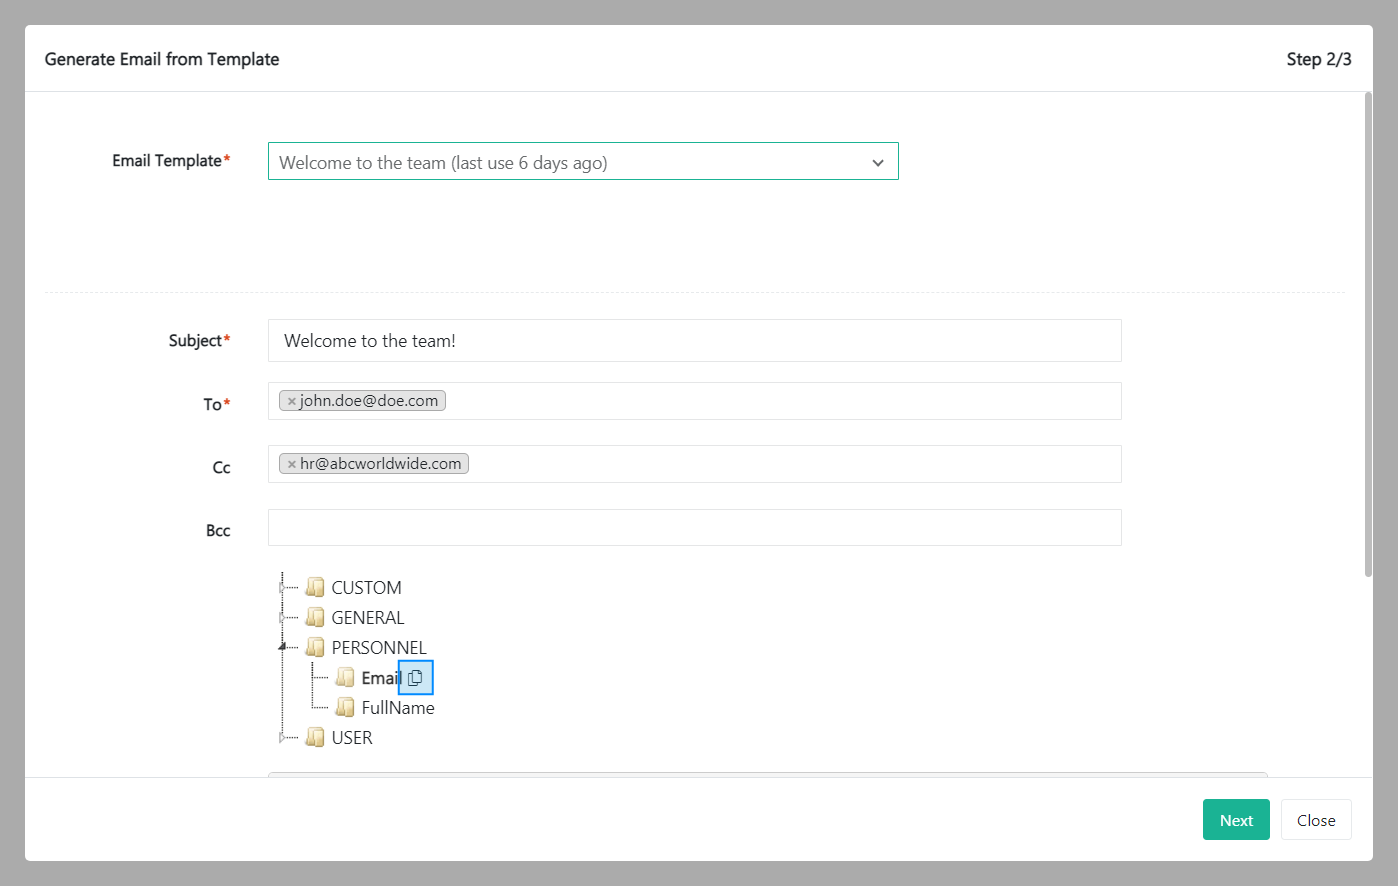
To generate an email from a template, go to the Personnel module and click the Generate Email from Template tab inside a personnel's page.
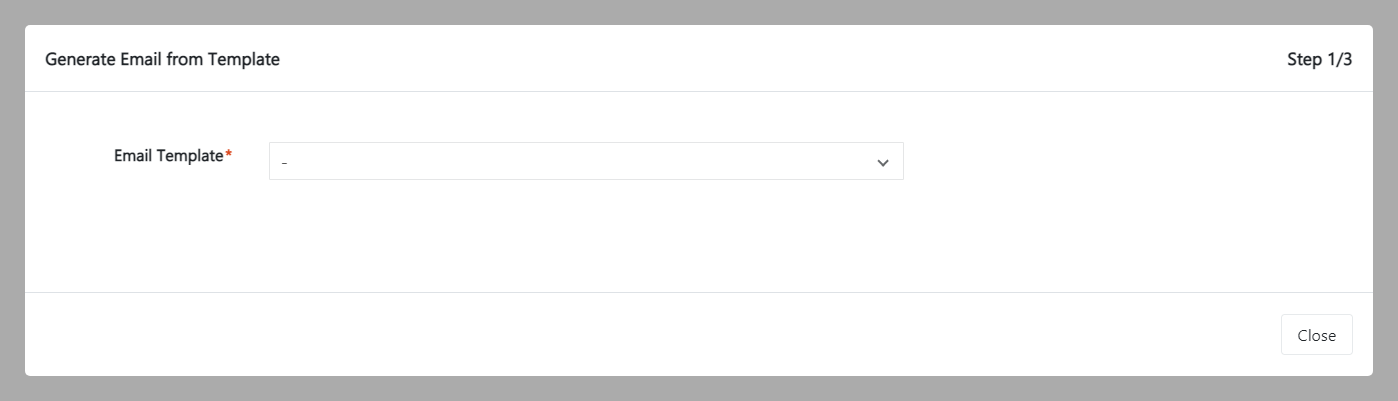
A Generate Email from Template modal window pops up. Choose the Email Template from the dropdown menu. It’s possible to change the template at any stage of the process by simply selecting another Email Template from the dropdown menu.
Once you’ve selected an email template, the pre-configured email template pops up. Click Next. This gives you the opportunity to review the content of the email and the email addresses it’s being sent to.
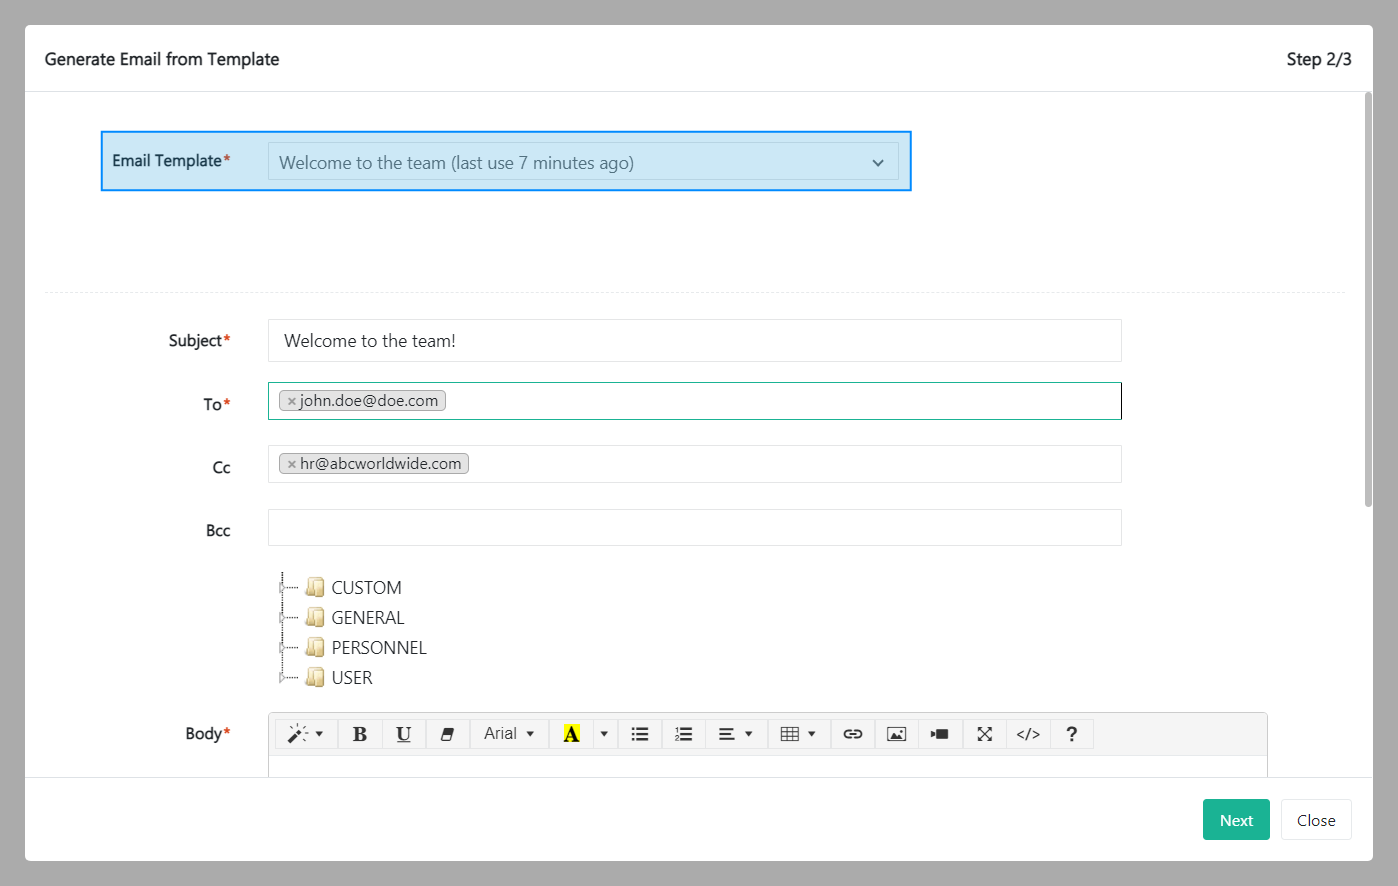
Fill out the fields about the new email:
- Email Template – The template of the email. Email templates are created in the Organization_Conversation Templates by an administrator.
- Subject – The subject of the email.
- To – Enter the recipient's email address.
- Cc – Stands for 'carbon copy' and allows you to send a copy of the email to other email addresses.
- Bcc – Stands for 'blind carbon copy'. Someone on the Bcc list can see everything, including the Cc list and content of the email. However, the Bcc list is secret meaning no one can see this list except the sender.
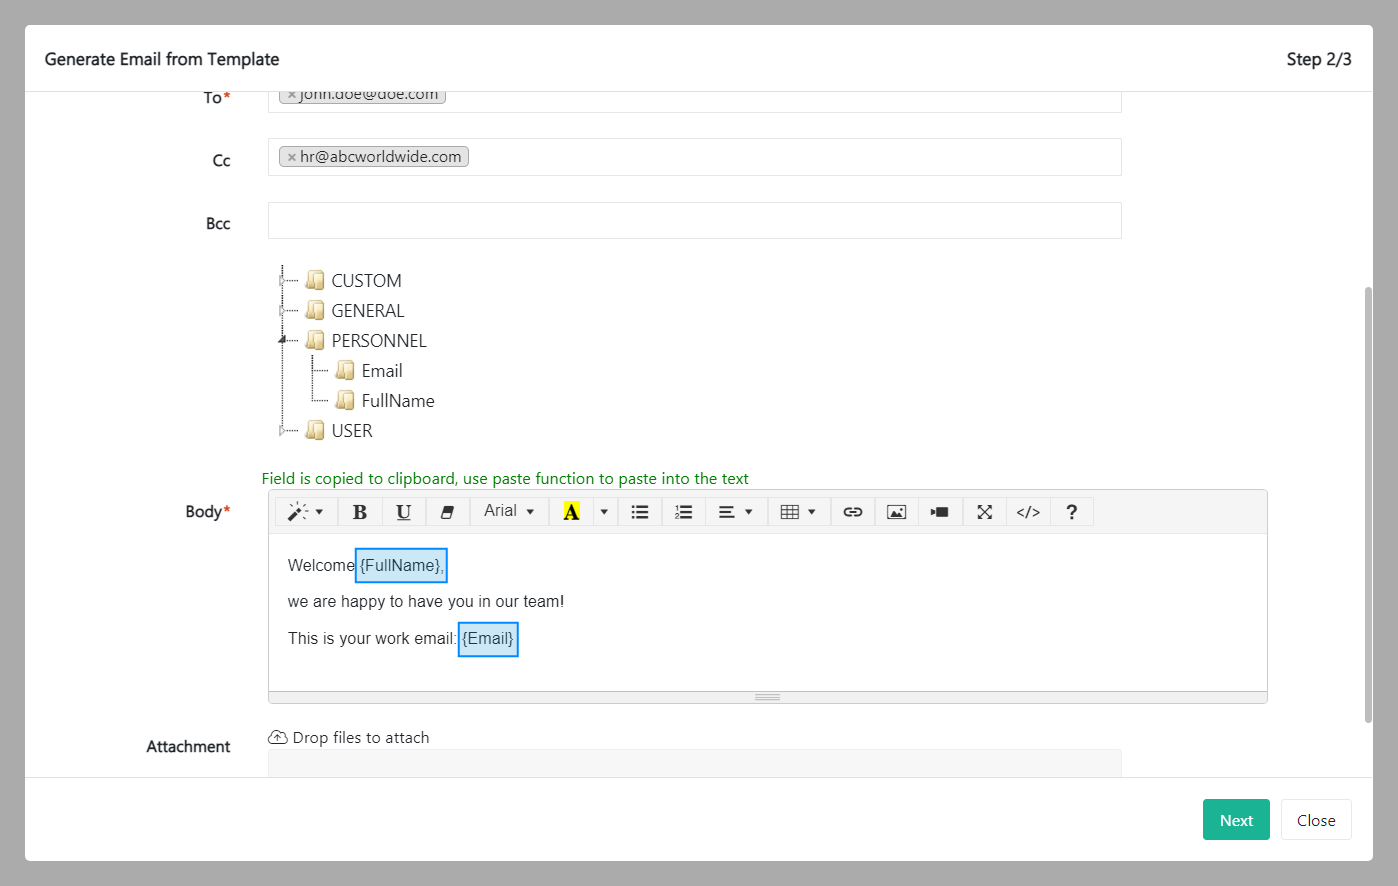
- Body – Body of the email.
- Attachment – Upload an attachment here.
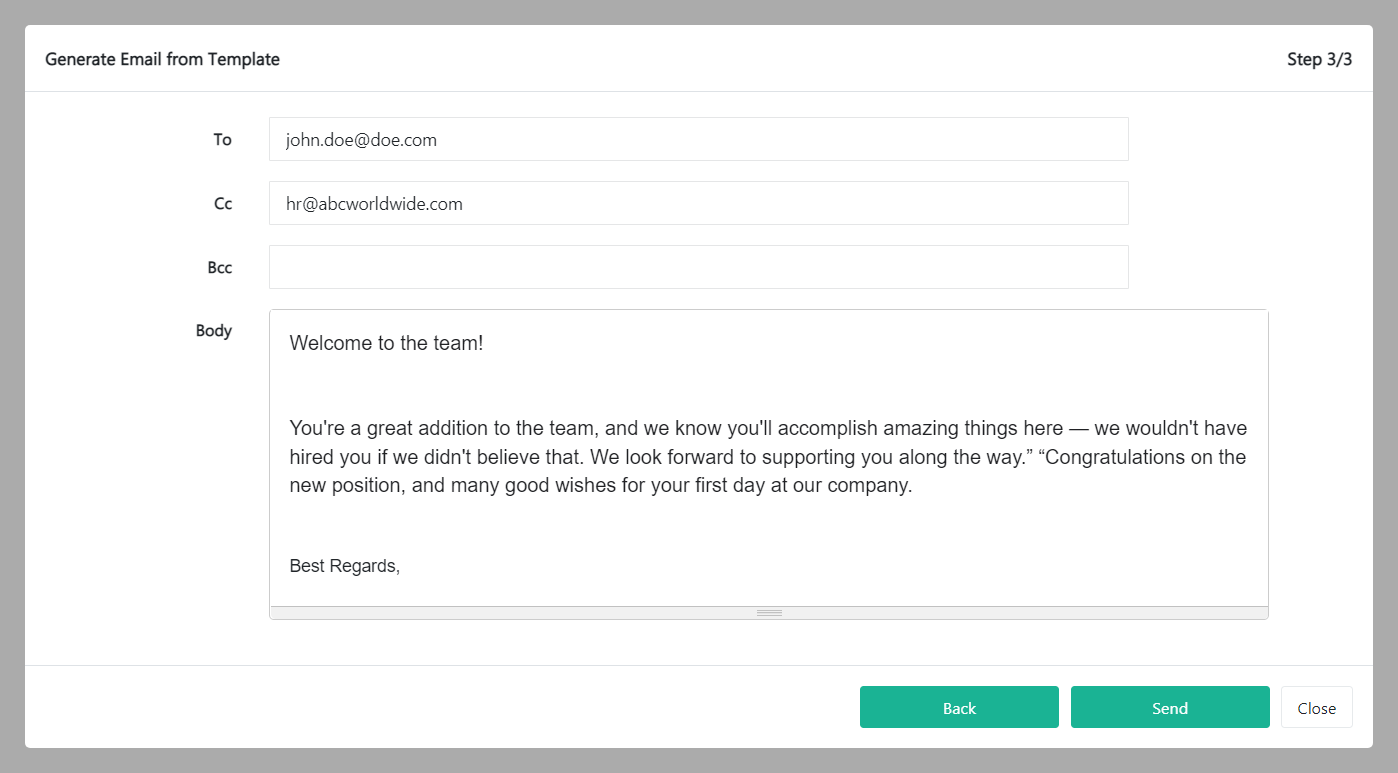
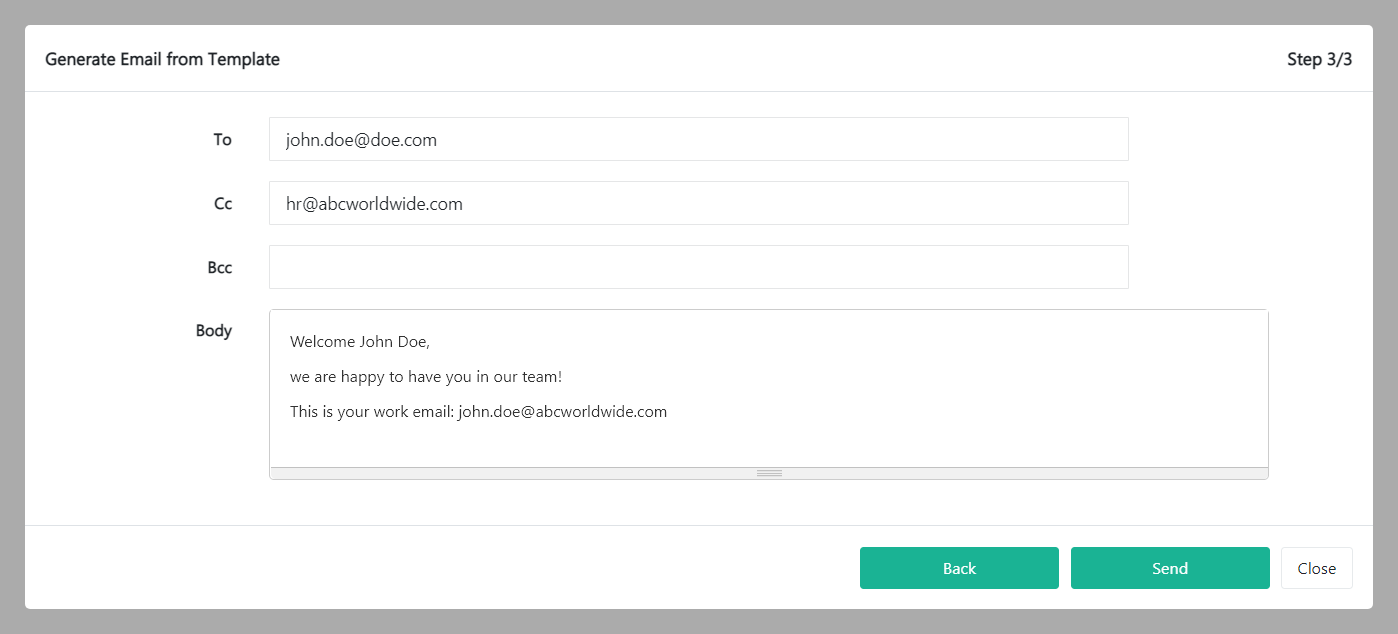
If you need to edit the email, click Back. Click Close if you want to don't want to send the email, or click Send if you want to continue.
After successfully sending the email, an 'Email Sent' message pops up.

How to use the email library of variables
To use the email library of variables, click on any folder under Bcc. A sub library will then open. Copy the variable and a small pop-up message will then be displayed above the body of the email.
Paste the variable in the email body. This will automatically fill the content based on the variable and concatenate with the email body.
Click Next. This gives you the opportunity to review the content of the email and the email addresses it’s being sent to. If you need to revise the email, click Back. Click Close if you want to don't want to send the email, or click Send if you want to continue.
After successfully sending the email, an 'Email Sent' message pops up.
Was this article helpful?
Didn’t find what you were looking for?
Contact us and we’ll build the right solution for you. Vault Synapse can be fully customized based on your business needs.