What is purchase order basic info
When you create a new purchase order, you need to enter the following information: Basic Info, Billing & Shipping Info, and Item List. Basic info includes information about the vendor, purchase order requester, key dates, currency, what the purchase order is for, and more. You can add comments and notes if required. You will also need to edit the Billing & Shipping details for this purchase order and set its payment terms. The Item List allows you to apply VAT and any discounts. As you add an item description, quantity, and rate, the system will generate the subtotal and total value for the purchase order.
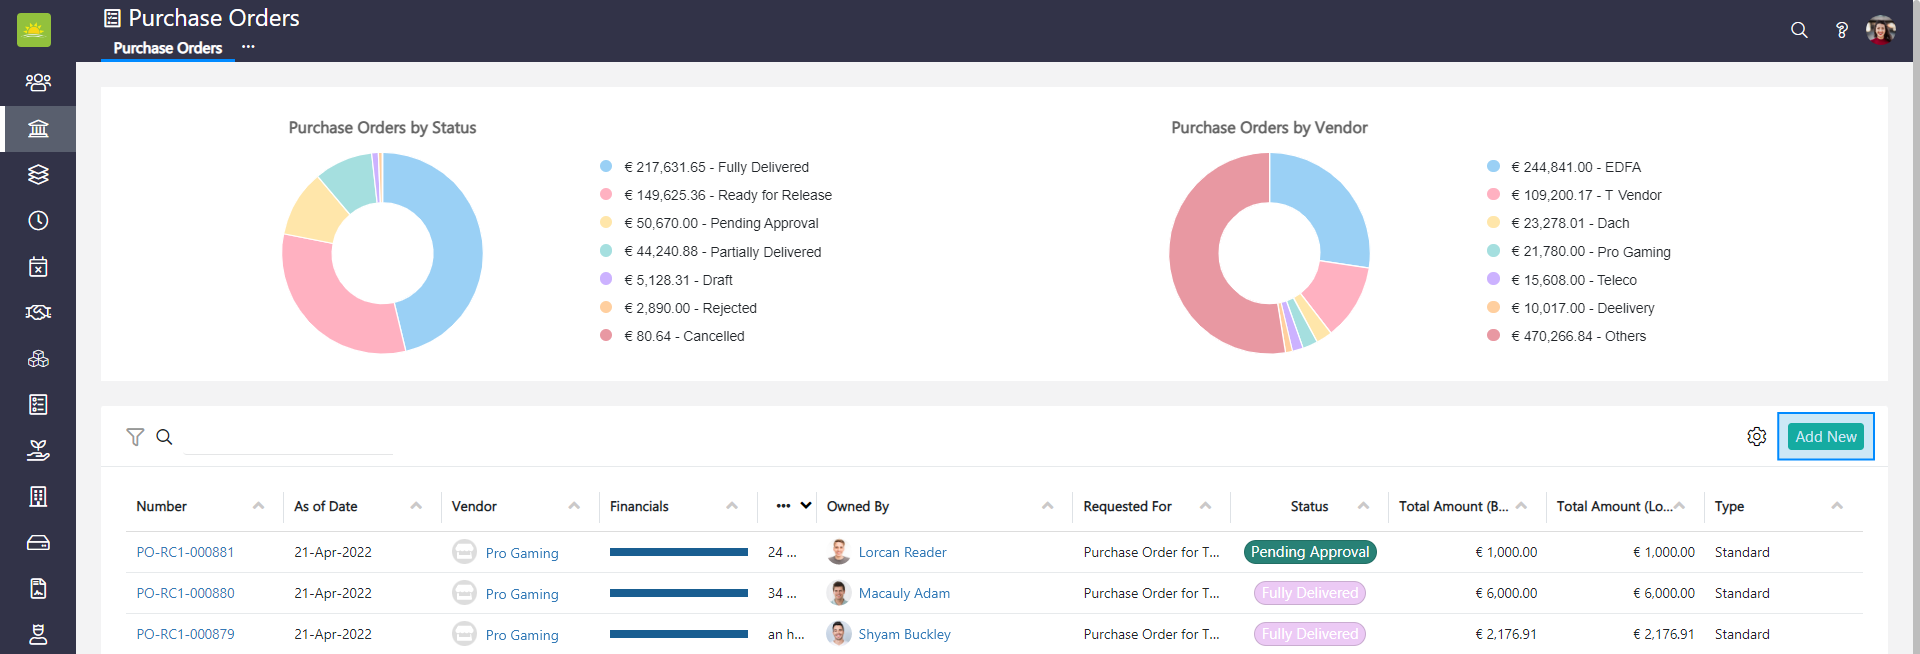
When you create a new purchase order, you must fill in the purchase order’s basic info. Go to the Finance module and click the Purchase Orders module. Click Add New in the top right corner.
The Basic Info tab opens.
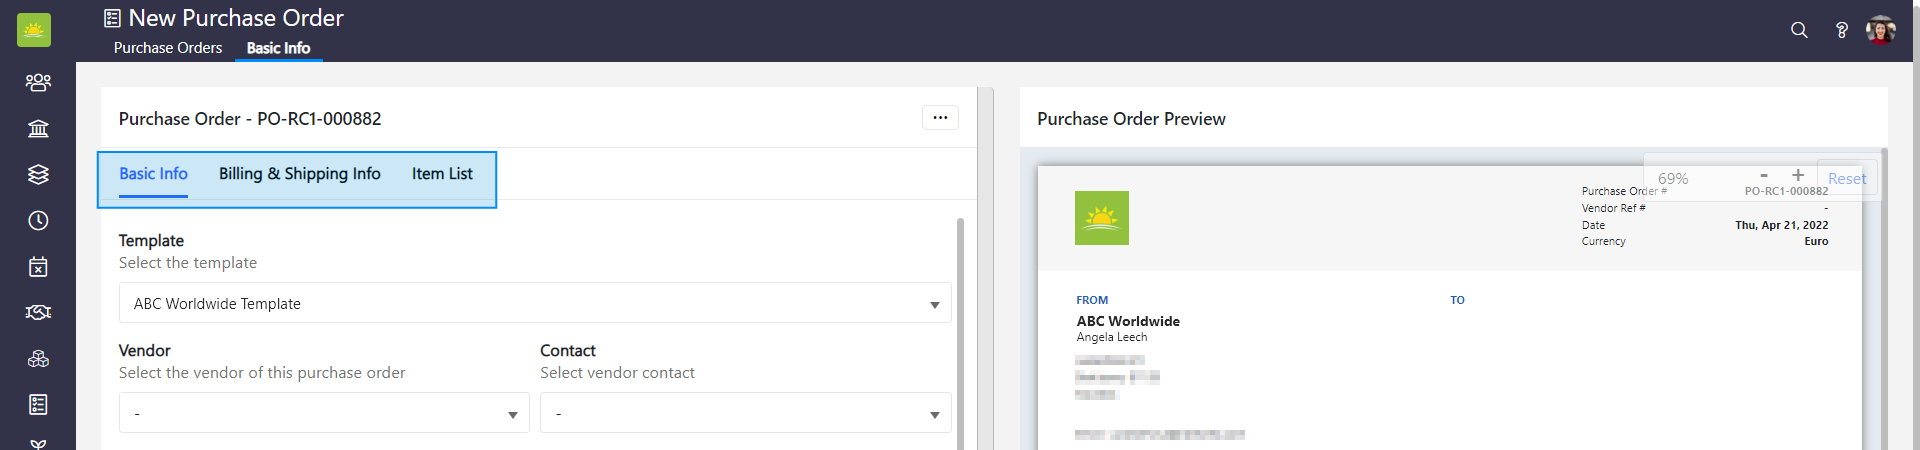
1. Basic Info
Click Basic Info under the purchase order number line.
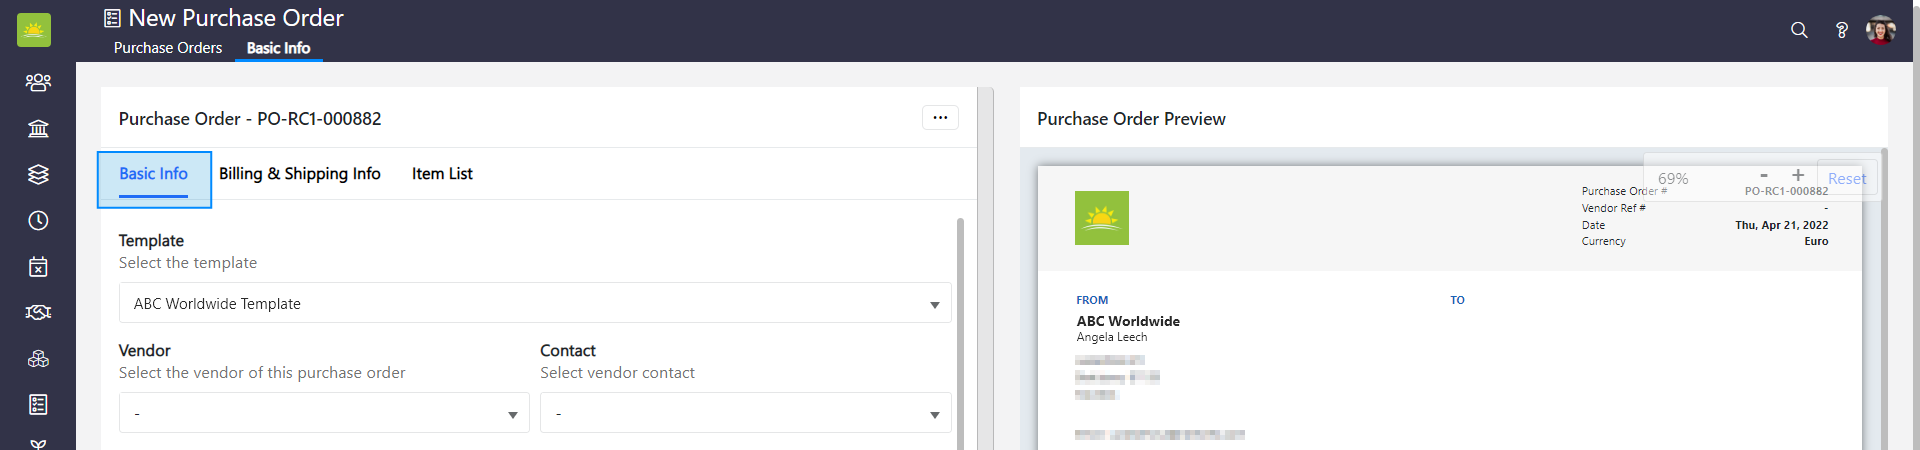
It contains the following:
- Template – A pre-formatted file type that can be used to quickly create a specific document style.
- Vendor – A product supplier that you can choose from the dropdown menu. Note! You must have at least one vendor entry. To create a new vendor, go to the Vendor module.
- Contact – A contact person that you can choose from the dropdown menu. To add a vendor’s contact details, go to the Vendor module or the Contact module.
- Requested By – This is the name of the user who requested the purchase order. You will be the owner by default but can select someone else from the dropdown menu.
- Subject – Briefly specify what the purchase order is for.
- Issuance Date – The date when the purchase order was issued.
- Delivery Date – The estimated delivery date of the purchase order items.
- Currency – The currency used for the purchase order. Your base currency will be preselected, but there is a wide selection of currencies that you can select from the dropdown menu.
- Additional Comments – You can enter more details related to the purchase order in this field.
- Notes – You can attach notes to the purchase order.
2. Billing & Shipping Info
Click Billing & Shipping Info under the purchase order number line. If you want to edit the billing or shipping details, click  .
.
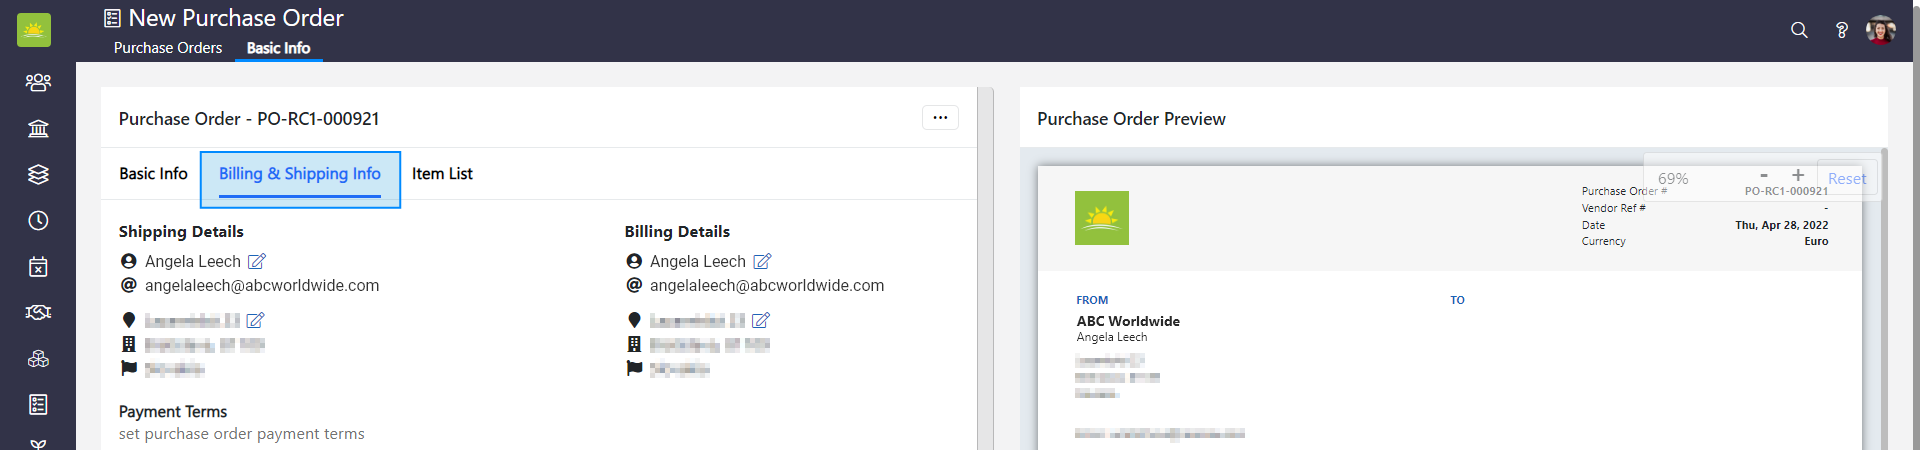
It contains the following:
- Shipping Details – Enter the shipping information like the contact and address for the purchase order. You will be the contact by default but can select someone else from the dropdown menu. The names are categorized by different entities.
- Billing Details – Enter the billing information e.g., contact and address for the purchase order. Select the contact from the dropdown menu. The names are categorized by different entities.
- Payment Terms – Set the payment terms for the purchase order. This can be auto filled by the fixed payment terms from a vendor.
3. Item List
Click Item List under the purchase order number line. This tab defines the list of items for the purchase order.
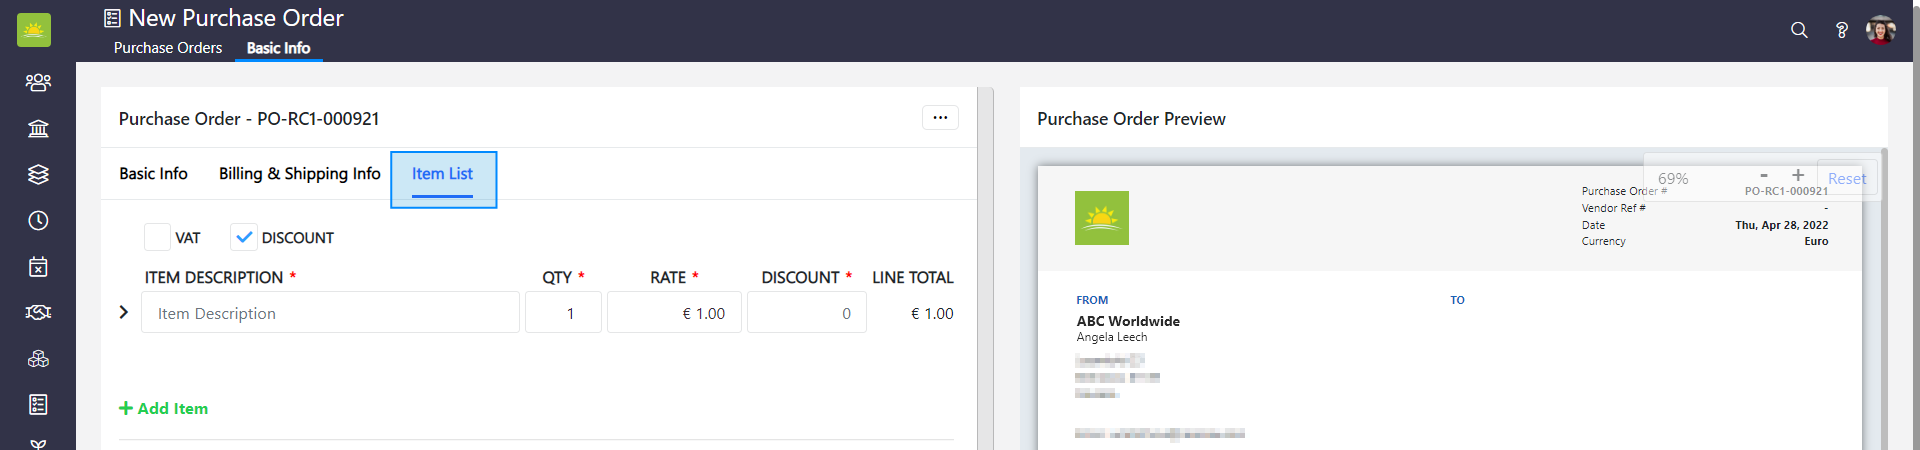
It contains the following:
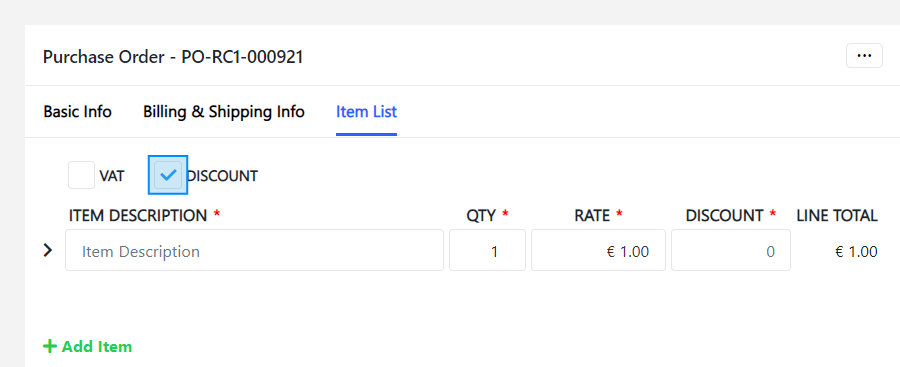
- VAT – If you check the VAT box, the VAT field will be added to the item description. Type the applicable VAT rate for the item/items into the field or use the counter. The system will apply the VAT to the purchase order sum.
- DISCOUNT – If you check the Discount box, a discount field will be added to the item description. Type the discount value you want to apply to the purchase order into the discount field or use the counter. The system will apply the discount to the purchase order sum.
- ITEM DESCRIPTION – Type into this field what this purchase is for.
- QTY – Type a value into this field or use the counter to define the quantity.
- RATE – Type a value for each purchase order item into this field or use the counter. The rate is the item/service value without VAT or a discount.
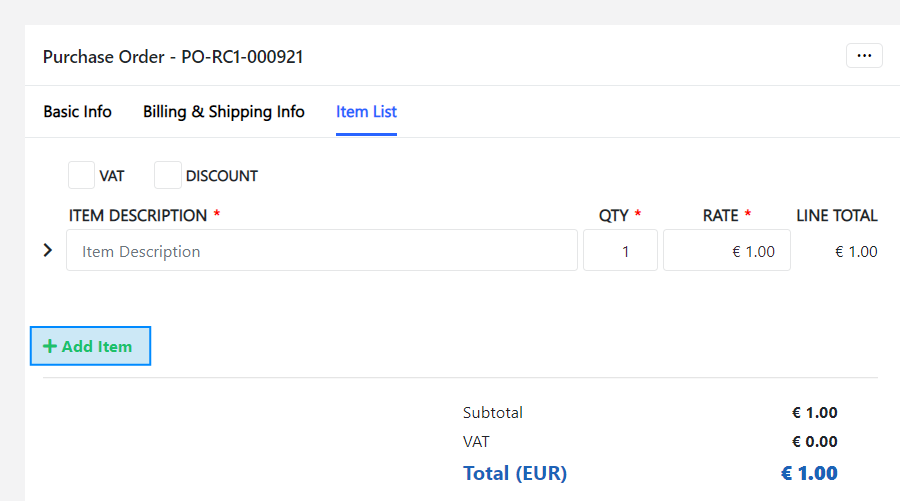
- LINE TOTAL – This field holds the final value of the purchase order.
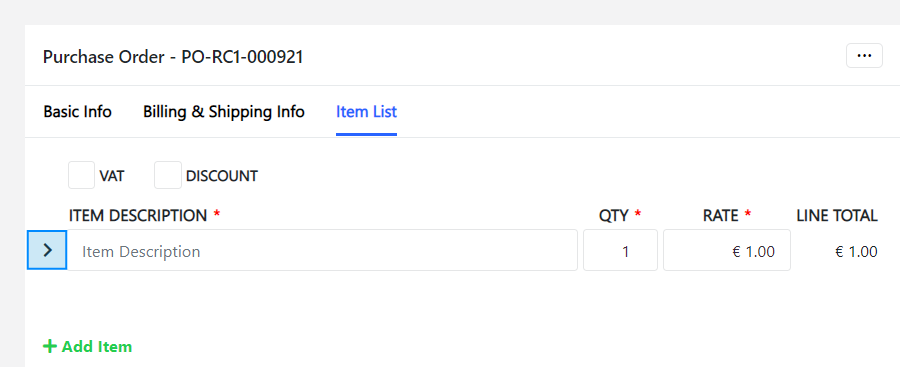
By default, VAT and Discount are disabled. It can be enabled by ticking the field based on the requirements of the purchase order.
Click on the forward arrow on the left of the item description field to open sub fields where you can allocate items to a specific entity and select a transaction type, GL code, and order number from the dropdown menu.
- Allocated To – Allocate the purchase order to an entity from the dropdown menu.
- Transaction Type – Select the transaction type from the dropdown menu. Transaction types are defined in the Organization Configuration by an administrator.
- GL Code – Find the GL (General Ledger) Code in the dropdown menu and apply it to the purchase order. GL Codes must be set up by an administrator.
- Order Number – Find the Order Number in the dropdown menu and apply it to the purchase order. Order Numbers must be set up by an administrator.
You can add multiple items to the same purchase order by clicking Add Item.
Click Save as Draft to save the purchase order in the draft stage. When the purchase order status is changed to the draft stage, a unique number will be allotted to the purchase order. The numbering pattern can be configured in the Organization Configuration settings by an administrator.
Note! When the purchase order is saved as a draft, the Basic Info tab will be disabled and a new tab called Details will provide the details of the purchase order.
Didn’t find what you were looking for?
Contact us and we’ll build the right solution for you. Vault Synapse can be fully customized based on your business needs.